Competitor Cross Reference
% can be used as a wildcard in search
Heyco® Liquid Tight Cordgrips Installation Instructions for Threaded Mounting Holes
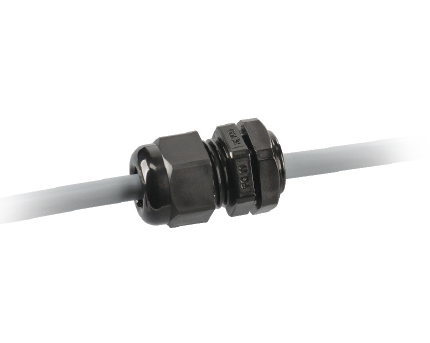
INSTALLATION INSTRUCTIONS for THREADED mounting holes
For torque information, click here.
- Be sure that hole is free of burrs and panel surface around hole is smooth and free of debris.
- Using the hex portion on the body (not the sealing nut), screw the fitting tightly into the threaded mounting hole.
- Insert the cable through the fitting to the desired position.
- Hand-tighten the SEALING nut as far as possible. Hold the BODY hex stationary with a wrench. Using a second wrench, tighten the SEALING nut until the wire is securely held in place.
- Using a wrench on the BODY hex, check to make sure the fitting is still screwed tightly into the panel.
- To disassemble for cable replacement, use a wrench to hold the BODY hex stationary and loosen the SEALING nut with a second wrench. Grip the disconnected cable and pull while turning the cable in the counter-clockwise direction.


© Copyright 2024, Heyco.