Edit Content
Categories
Loader
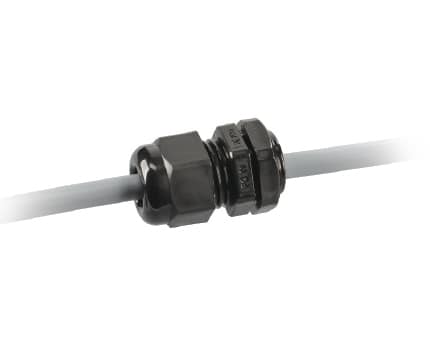
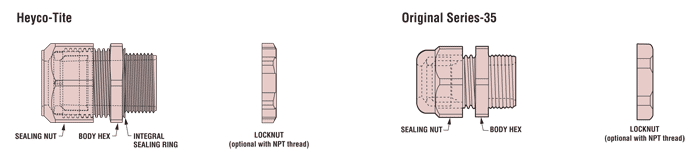
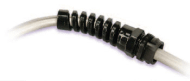
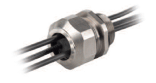
Heyco® Liquid Tight Cordgrips Installation Instructions for Threaded Mounting Holes
 
Features


INSTALLATION INSTRUCTIONS for THREADED mounting holes

For torque information, click here.

  1. Be sure that hole is free of burrs and panel surface around hole is smooth and free of debris.
  2. Using the hex portion on the body (not the sealing nut), screw the fitting tightly into the threaded mounting hole.
  3. Insert the cable through the fitting to the desired position.
  4. Hand-tighten the SEALING nut as far as possible. Hold the BODY hex stationary with a wrench. Using a second wrench, tighten the SEALING nut until the wire is securely held in place.
  5. Using a wrench on the BODY hex, check to make sure the fitting is still screwed tightly into the panel.
  6. To disassemble for cable replacement, use a wrench to hold the BODY hex stationary and loosen the SEALING nut with a second wrench. Grip the disconnected cable and pull while turning the cable in the counter-clockwise direction.


Competitor Cross Reference
Use our cross-reference tool to find equivalent Heyco parts that match competitor products, ensuring compatibility and performance.
 
LET’S CONNECT
Talk to Our
Experts Today
Have questions or need a specific part? Let’s connect and find the right solution for your project.